
Staining wood brings out the grain and adds color without hiding the natural character. It’s more forgiving than you’d think, but a few basics make the difference between a professional result and a blotchy mess.
Prep Is Everything
Sand to at least 150 grit, ideally 180 or 220. Stain highlights every scratch and imperfection—sanding marks at 80 grit will show up darker than the surrounding wood. Sand with the grain, not against it.
Wipe off all dust. Use a tack cloth or slightly damp rag. Any debris left behind creates spots that stain differently.
Test First
Always test on scrap or an inconspicuous area. Stain colors look nothing like the can lid on actual wood. Different species absorb stain differently—the same stain looks completely different on pine versus oak.
Application Basics
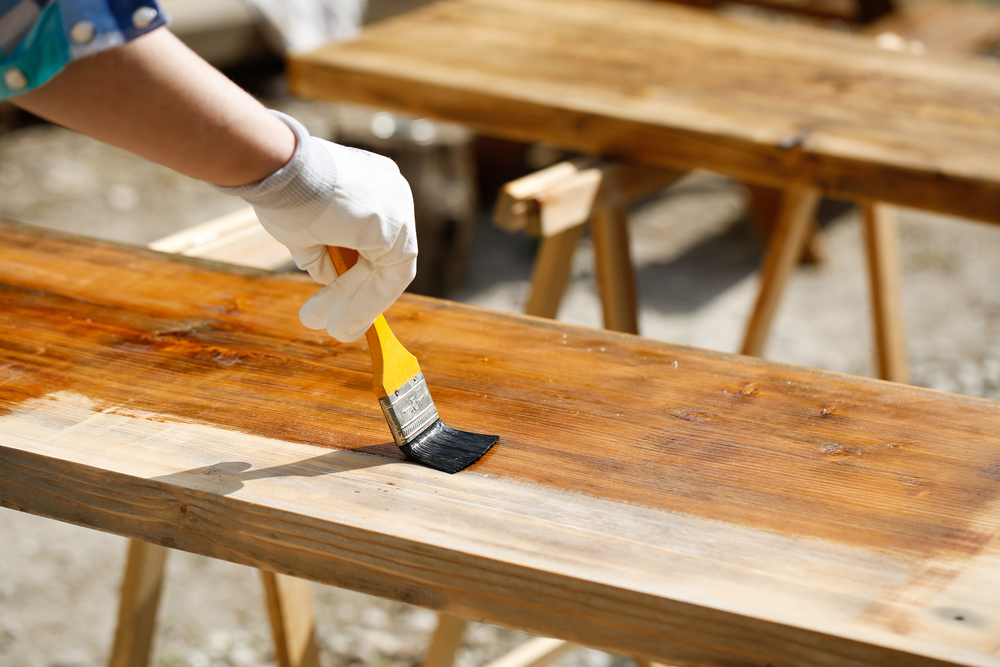
Brush or wipe on a liberal coat. Work with the grain. Let it sit for a few minutes—longer for deeper color, shorter for lighter. Wipe off the excess with a clean rag before it dries.
That last part matters: stain that dries on the surface instead of being wiped off creates a sticky, uneven film. Wipe until the rag comes away mostly clean.
Dealing with Blotchy Wood
Pine, cherry, and maple are notorious for absorbing stain unevenly. The soft parts soak up more color than the hard parts, leaving dark spots and light patches.
Pre-stain wood conditioner helps. Apply it first, let it partially dry, then stain. It partially seals the surface so absorption is more uniform. Not perfect, but way better than skipping it.
Gel stains are another option for blotchy-prone woods. They sit on top rather than penetrating, so uneven absorption matters less.
Multiple Coats
Want darker color? Let the first coat dry completely, then apply another. Each coat adds depth. Three or four coats can get you pretty dark without looking painted.
Let each coat cure according to the can instructions. Rushing creates adhesion problems.
Topcoat Required
Stain adds color but no protection. You need a topcoat—polyurethane, lacquer, or oil—to seal the wood and protect it from wear. Apply topcoat after stain has fully dried, usually 24 hours.
Water-based poly goes on clearer; oil-based adds a slight amber warmth. Either works over most stains. Check compatibility if you’re using unusual products.


Stay in the loop
Get the latest updates delivered to your inbox.