How to Build a Built-In Bookshelf — Step-by-Step Plans
Built-in bookshelves have started getting harder to follow with all the “just hack an IKEA Billy” noise flying around. And look, that approach has its place — but if you actually want a shelf that looks like it grew out of the wall rather than got parked against it, you need to understand what separates a real recessed built-in from a dressed-up freestanding unit. I’ve built both. The recessed version — where you open the wall and build between the studs — takes more out of you on a Saturday. The result, though, lands in a completely different category. The shelf stops being furniture. It becomes the room. That distinction is worth every extra hour.
This article includes affiliate links. We may earn a commission at no extra cost to you.
Recessed vs Surface-Mount — Which Built-In Look Are You Going For?
These aren’t just variations on the same project. They’re genuinely different animals — worth understanding before you buy a single board.
A surface-mount built-in is essentially a bookcase unit — store-bought or custom-built — that you anchor to the wall and dress up with finish carpentry. Baseboards, crown molding, scribe molding along the sides. Done right, it absolutely reads as built-in. The unit sits proud of the wall surface, but the trim integrates it visually. IKEA Billy shelves with added face frames and crown molding fall squarely into this category. Plenty of designers use this approach. Nothing wrong with it — it’s faster, requires zero demolition, and is reversible if you ever sell.
But what is a true recessed built-in? In essence, it’s a shelf system that lives inside the wall itself. But it’s much more than that. You cut the drywall. You build inside the wall cavity — between the studs — and the front face ends up flush with the surrounding wall. It genuinely cannot be removed without leaving a hole in your house. The look is flatter, sharper, more architectural. That’s what makes recessed built-ins endearing to us finish-carpentry obsessives. This article covers that approach.
The honest trade-off: going recessed means locating studs, cutting drywall, potentially wrestling with insulation, and adding blocking. You are opening the wall. If that sounds like too much, the surface-mount route is a legitimate call. But if you want the real thing, keep reading.
Planning — Stud Location, Width, and Depth
Quick callout up front — because planning is exactly where surprises live, and a surprise inside a wall is rarely a good one.
Start with a stud finder. Run it across the wall slowly — slower than you think you need to — and mark every stud edge with a pencil. Standard stud spacing is 16 inches on center, which leaves you 14.5 inches of clear space between stud faces. That’s your working width per bay. Some houses, especially those framed 24 inches on center (common on certain exterior walls or in newer construction), give you 22.5 inches per bay — noticeably roomier. Always confirm with the stud finder and a couple of test holes. Don’t assume.
Depth is where things get interesting. A standard 2×4 wall gives you a cavity that’s 3.5 inches deep — the actual width of a 2×4. Full stop. For display items, small frames, candles, that’s workable. For actual books? Not even close. Most books need 8 to 12 inches of depth to sit properly without hanging over the edge.
The fix is building a frame that extends forward from the wall plane — essentially a plywood box that fits into the wall opening but protrudes 6 to 8 inches into the room. The back of the box sits inside the wall cavity; the front projects outward. This is standard practice for recessed built-ins, not a compromise. You still get the flush, architectural look on the sides and at the top. The depth you gain is real.
One thing I learned the hard way on my first recessed project: check for electrical and plumbing before you cut anything. A voltage detector costs twelve dollars and could save you from a very bad afternoon. Interior walls are less likely to carry plumbing, but electrical runs through almost everything. If you’re not sure what’s in there, cut a small inspection hole first and look before committing to the full opening. Don’t do what I did.
Tools and Materials You Need
While you won’t need a full woodshop setup, you will need a handful of specific tools. Here’s what was on my workbench for this type of project. Nothing exotic.
Tools
- Stud finder — the Zircon MultiScanner i520 runs about $35 and is actually reliable, which puts it in a small category
- Oscillating multi-tool with a drywall blade — this is the right tool for cutting the opening cleanly, not a jab saw
- Circular saw for plywood cuts
- Miter saw for trim and face frame pieces
- Drill/driver
- Level — a 4-foot level, not a torpedo level
- Shelf pin drilling jig — the Rockler Shelf Pin Jig is $22 and eliminates basically all the frustration of misaligned holes
- Brad nailer if you have one — speeds up the face frame work considerably
Materials
- 2×4 lumber for horizontal blocking at the top and bottom of the opening
- 3/4-inch MDF or birch plywood for the box sides, top, bottom, and shelves — MDF might be the best option for paint-grade work, as this application requires a surface that takes primer cleanly; that’s because MDF has no grain to raise and sands beautifully
- 1×4 pre-primed pine for the face frame
- Wood screws: 1-5/8-inch for box assembly, 3-inch for blocking into studs
- Shelf pins — 5mm is standard
- Sandpaper, 120 and 220 grit
- Paintable latex caulk — non-negotiable, more on this later
- Primer and paint
Budget for a single stud-bay recessed built-in — 14.5 inches wide, 36 inches tall, painted MDF — runs roughly $75 to $150 in materials depending on your local lumber prices. A floor-to-ceiling, multi-bay library wall is a different scale entirely: expect $400 to $1,200 depending on size, material choices, and whether you’re adding lighting or adjustable shelving hardware throughout.
Step-by-Step — Building a Stud-Bay Recessed Built-In
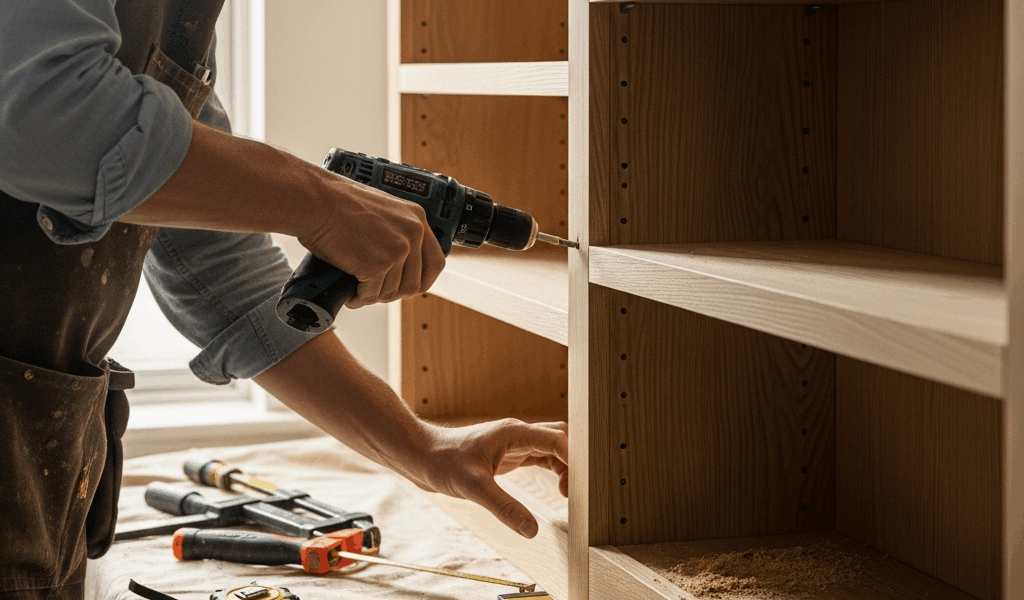
Step 1 — Mark and Cut the Opening
Once you’ve confirmed the area is clear of wires and pipes, mark your cut lines on the drywall. Cut along the inside faces of your two bordering studs — that’s your width. Use the oscillating multi-tool with a drywall blade. It gives you a controlled, clean cut without blowing out the paper face on the drywall. Cut to your desired height. Remove the section.
Step 2 — Add Blocking
Install horizontal 2×4 blocking at the top and bottom of your opening. Cut each 2×4 to fit snugly between the studs, then toe-screw them in place using 3-inch screws angled into the stud faces. This blocking provides solid structure for attaching the box and creates the top and bottom boundaries of the opening. Check that it’s level before moving on — everything downstream depends on this.
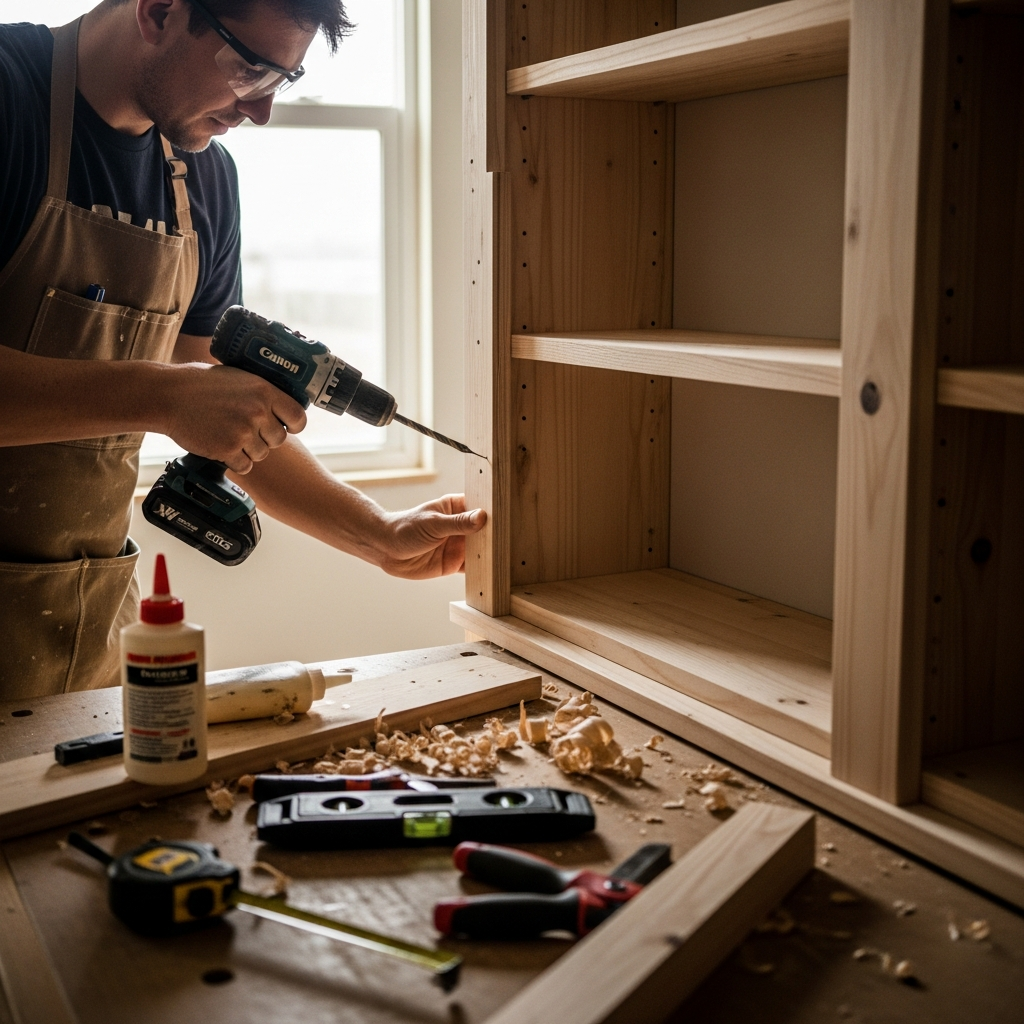
Step 3 — Build the Box
Cut your 3/4-inch MDF or plywood to size. Two side panels, a top, and a bottom. Box depth should match your desired shelf depth — 10 to 12 inches for books is the practical range. Assemble with 1-5/8-inch screws and glue, and square the box before the glue sets. If you’re spanning multiple stud bays, add a vertical divider panel centered over each intermediate stud.
Step 4 — Install the Box
Slip the box into the opening. It should fit snugly against the studs on both sides and rest on the bottom blocking. Drive 3-inch screws through the side panels into the studs, and through the top and bottom panels into the blocking. Check plumb and level before you fully tighten everything. Fixing a tilted box after it’s anchored is not a fun experience.
Step 5 — Add Adjustable Shelves
Drill shelf pin holes on the interior sides of the box using the Rockler jig or a similar drilling guide. Two columns of holes per side, spaced 1 to 1.5 inches from the front and back edges. The jig keeps the holes on both sides aligned — misaligned holes mean tilted shelves, and tilted shelves are where projects start looking like projects. Cut shelves from 3/4-inch MDF to fit the interior width. Drop in the shelf pins. Done.
Step 6 — Apply the Face Frame
The face frame is the finish element that makes everything look intentional rather than improvised. Cut 1×4 pre-primed pine to frame the opening — two vertical stiles running the full height, a top rail, a bottom rail. Attach with construction adhesive and a brad nailer, or with countersunk screws and filled holes. Miter the corners for a clean joint. The face frame covers the raw plywood edges, the rough drywall cut, and the transition between the box and the surrounding wall. It’s doing a lot of visual work.
Step 7 — Fill, Sand, Prime, and Paint
Fill every nail hole with lightweight spackle or wood filler. Sand with 120 grit, then 220. First, you should prime with a shellac-based primer — at least if you’re working with MDF — because shellac seals the surface properly and prevents grain from raising under the topcoat. Then paint. Two coats minimum. Three if you’re fussy about it, which you should be at this stage.
Finishing Details That Make It Look Professional
The caulk line is what separates the good work from the work that looks almost good. Run a continuous bead of paintable latex caulk along every edge where the face frame meets the wall. Every single edge — top, both sides, bottom. Tool it smooth with a wet finger. Let it dry completely before painting over it. That one step, done carefully, is the difference between a built-in that reads as professionally installed and one that reads as a DIY project trying to pass. It takes maybe fifteen minutes.
Frustrated by the flat, washed-out look of white-on-white built-ins, I started painting the interior back wall of my shelves a deep accent color — navy, charcoal, forest green — instead of matching the room walls. The contrast makes books and objects look deliberately displayed rather than just parked on a shelf. It adds visual depth. It costs nothing extra beyond a quart of whatever color you’re already using somewhere else in the house.
For lighting, a reel of warm-white LED strip lights — around 2700K color temperature — mounted along the inside top edge on a dimmer switch is a high-return upgrade. The Govee or Lepro LED strip reels run about $15 to $25 on Amazon and take maybe 20 minutes to install. The effect at night is completely different. The built-in reads as a lit architectural feature rather than a shelf in a dark corner.
Adjustable shelves matter more than they seem like they should. Fixed shelves look fine right up until you want to store something 11 inches tall and you’re stuck. Drilling the pin holes takes an extra hour on the front end. Worth every minute of it.
One last thing — apparently a lot of people skip this and then regret it. If your walls are textured — orange peel or knockdown — you’ll need to re-texture the wall areas around the face frame after painting. A can of spray texture matched to your wall finish handles this. Don’t skip it. It’s the last 5% of the job that makes the whole thing look like it was always there, like the house was built around it.


Leave a Reply