Mastering Quarter Round cutting! Get step-by-step tips, tools, and techniques to achieve perfect angles and a seamless finish for your floors and baseboards.
Mastering Quarter Round: A Step-by-Step Guide

Quarter round, the versatile trim, often finishes the look where the baseboard meets the floor. Its curvature gives a smooth transition and covers gaps. Cutting quarter round might seem daunting at first, but with the right tools and guidance, you can achieve professional results.
Understanding the Basics
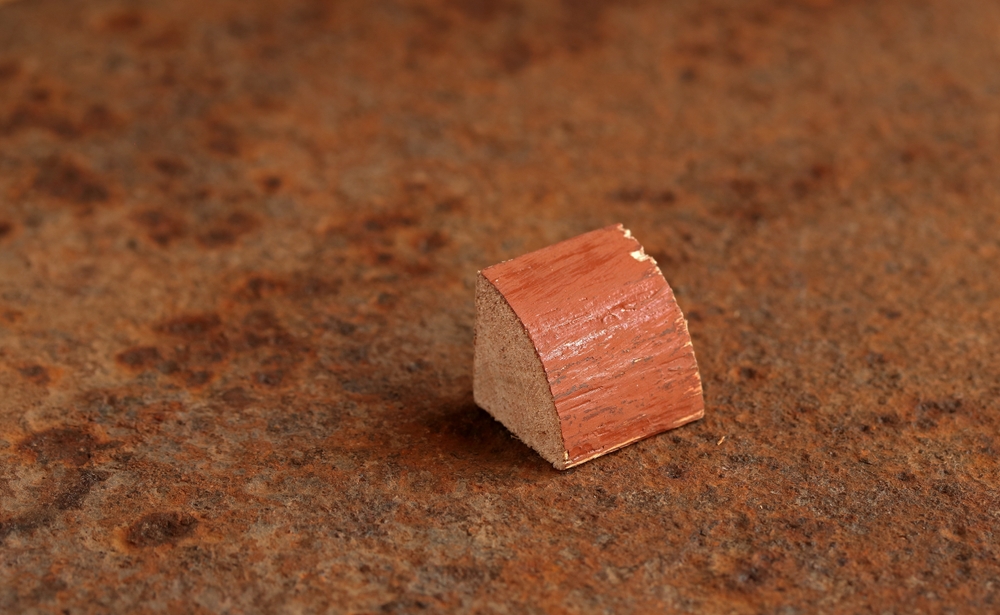
Quarter round is a type of molding with a cross-section in the form of a quarter circle. Typically made from wood, MDF, or polystyrene, it comes in various lengths and materials. Knowing the material is important as it affects the cutting technique.
Most measurements for quarter round are standardized but check the size that matches your needs, commonly 3/4 x 3/4. Accurate cutting requires understanding the angles involved, especially at corners.
Essential Tools for the Task

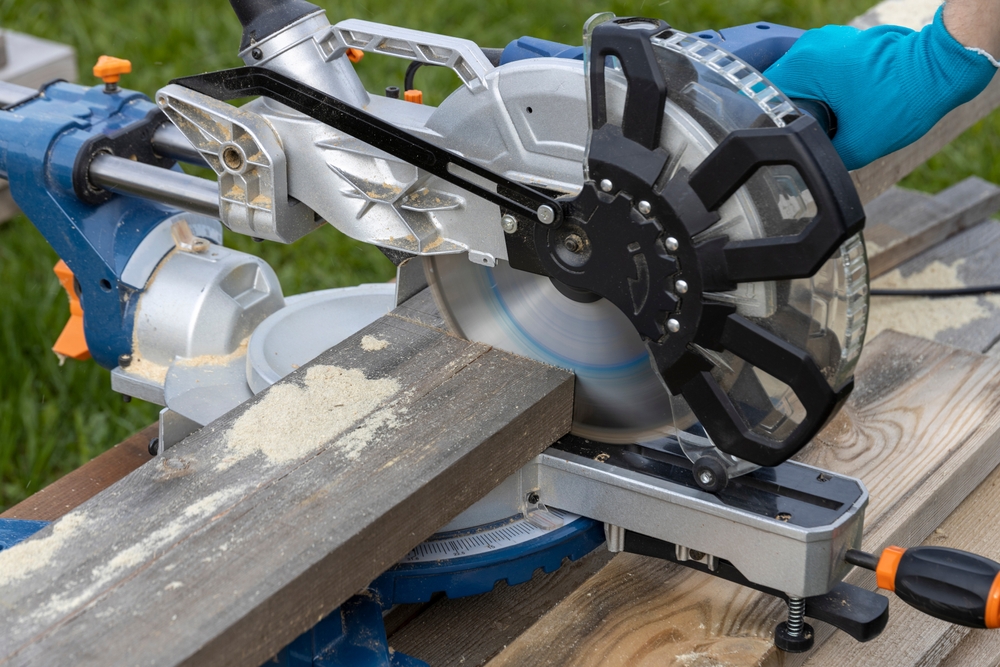
A complete set of tools ensures precision and efficiency. The primary tool needed is a miter saw. A manual miter box with a handsaw can suffice for smaller projects. Miter saws, however, offer speed and precision.
- Miter Saw: Ideally, use a power miter saw. It provides precise cuts and ease of use, especially for angle cuts.
- Measuring Tape: Accurate measurements are crucial. Invest in a quality tape for consistent results.
- Pencil: For marking spots on the quarter round.
- Safety Gear: Protect yourself with goggles and hearing protection when using power tools.
Preparing the Workspace
Organizing your workspace prevents mistakes and injuries. Clear the area and ensure adequate lighting. Have all your tools within reach and test the miter saw for function before cutting.
Test the miter saw on scrap pieces to ensure cuts are accurate. Adjustments might be necessary to achieve perfect angles and smooth edges.
Taking Measurements
Measuring the space accurately is the foundation of a good fit. Use your measuring tape to determine the precise length for the quarter round, subtracting any allowances for corners or obstacles.
Mark the quarter round with a pencil where the cuts will occur. Each section might require different measurements, especially in older homes where walls can deviate from straight lines.
Cutting Techniques
With the miter saw set up, place the quarter round securely on the saw bed. For inside corner cuts, set the saw for a 45-degree angle. The direction depends on the corner’s orientation. A typical inside corner cut involves setting the saw to the right for the left piece of molding and vice versa for the right piece.
For outside corners, the same 45-degree angle applies but cut in the opposite direction. For straight cuts, a 90-degree angle ensures the ends fit snug against walls or other trim pieces.
Inside Corner Cuts
It’s crucial to cut from the back of the quarter round to avoid splitting. Carefully align the saw’s blade with the marked line before proceeding. Engage the saw steadily without forcing it, which ensures a clean cut.
Outside Corner Cuts
Switching to outside corners, adjust the miter saw to the opposite 45-degree. Precision here is vital for a gap-free fit where the molding ends meet.
Returns and End Pieces
Returns are small angled pieces ending a run of molding neatly. They prevent a visible blunt edge and add a professional finish. Cutting small pieces requires attention to avoid waste or mishaps.
Joining and Installing
Dry fit your pieces before fixing them with nails or adhesive. Minor adjustments might be necessary for a perfect fit. Ensure the grain direction and material match existing molding for a uniform appearance.
- Use finishing nails and a hammer or nail gun to fix the quarter round securely.
- Avoid over-nailing; excessive force can split the wood, especially if it’s thinner or made from a more delicate material.
- Fill any nail holes with wood filler and sand lightly once dry.
Common Challenges and Solutions
A few issues could arise, such as uneven walls or floors. Using caulk can fill gaps and achieve a seamless look. A flexible caulking material accommodates subtle movements in buildings.
If the quarter round material is hard to cut, ensure the saw blade is sharp. Dull blades produce rough edges and increase the difficulty of straight cuts.
Finishing Touches
Paint or stain the quarter round to match the baseboard. If using paint, light sanding helps promote adhesion. Always prepare the surface by cleaning off dust after sanding.
Apply primer if necessary, especially on MDF or non-wood surfaces. Then, use a high-quality paint or stain for a durable finish. Allow enough drying time between coats to ensure depth and richness in color.


Subscribe for Updates
Get the latest articles delivered to your inbox.
We respect your privacy. Unsubscribe anytime.