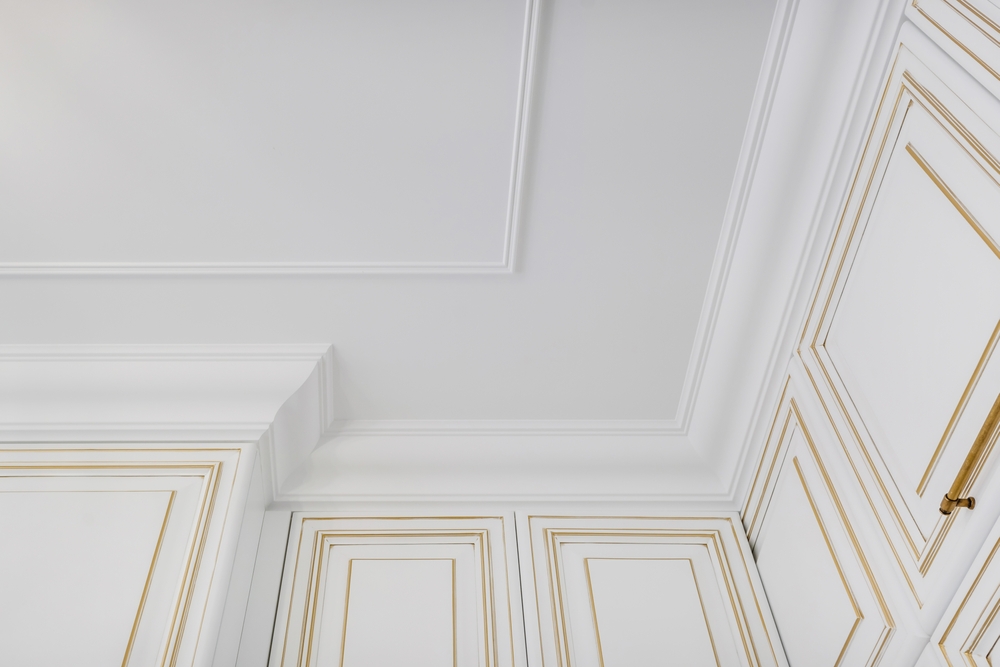
Transform your home with elegance! Learn 5 key ways to enhance your home with elegant picture rail moulding for timeless charm, functionality, and style.
Table of Contents
Home with Elegant Picture Rail Moulding: A Practical Guide

Picture rail moulding is a classic architectural feature with both functional and decorative purposes. Unlike typical crown moulding, a picture rail sits lower on the wall, usually about one-third of the way down from the ceiling. It provides a specific location from which to hang pictures or artwork without damaging the wall surface. This utility has been a significant advantage, especially in homes with plaster walls that are prone to chipping and cracking.
The Historical Context of Picture Rail Moulding
Originating in the 19th century, picture rail moulding became popular during the Victorian era. Homes of this period often had thick plaster walls, where hanging heavy picture frames directly could cause damage. The picture rail allowed homeowners to showcase artwork without hammering nails into the plaster. This feature was not only practical but also added a refined, streamlined aesthetic.
During the early 20th century, as Art Nouveau and later Art Deco styles took hold, the picture rail was adapted to suit new tastes. Each style brought subtle changes in moulding design, reflecting the broader architectural trends of the time. Picture rails were often painted or stained to match or complement the rest of the room’s decor, blending seamlessly with the woodwork or paint scheme.
Picture Rail Moulding Materials and Design

Traditionally, picture rail mouldings were made from wood, such as oak, pine, or mahogany. Wood offered durability and could be easily carved or moulded into various designs. Today, they are also available in medium-density fiberboard (MDF) and synthetic options, providing consumers with cost-effective and less labor-intensive solutions.
Moulding designs range from the simple to the ornate. Simple profiles exhibit clean lines and minimal curvature, suitable for modern or minimalist interiors. In contrast, more elaborate styles feature intricate carvings and profiles, fitting well with historic or classical interiors. Such variety allows property owners to choose a design that enhances their space while reflecting their personal taste.
Installation: A Step-by-Step Process
Installing picture rail moulding requires precision and the right tools. Begin with measuring the walls where the moulding will be installed. Mark these measurements on the moulding itself before cutting it to fit using a miter saw for precise angles. The miter saw will help achieve the angled cuts necessary where corners and joints meet.
Wall preparation is also essential. Ensure the wall is clean and free of obstructions like old adhesive. If required, lightly sand the surface where the moulding will attach. Use a stud finder to locate the wall studs, marking them as you will need to nail the moulding into these for added stability.
With the moulding cut, position it against the wall to check the fit. Make any necessary adjustments before nailing it into place. Drive nails at intervals along the studs and consider using a nail setter to push the nails slightly below the surface of the moulding. This will allow filling the holes with wood putty for a seamless appearance.
Once installed, the moulding can be painted or stained to match the room. Use a primer first if painting to ensure the paint adheres properly. When staining, apply several coats for a deep, rich finish.
Using Picture Rail Moulding in Modern Interiors
In modern interiors, picture rail moulding serves a dual purpose, maintaining its original function while adding a subtle architectural interest. When placed right, it can help define spaces and bring cohesion to a room’s decor. In small apartments or open-plan areas, picture rails suggest visual divisions without the need for physical barriers.
Picture rails are versatile enough to accommodate various art displays. Homeowners can experiment with different lengths of fishing line or wire to hang art at varied heights. This flexibility allows for frequent changes to the art display without recourse to filling wall holes and repainting.
In addition to its practical use, picture rail moulding offers an opportunity for creative expression. Whether opting for a bold color that contrasts with the wall paint or a natural wood finish for warmth, the moulding itself can be a decorative feature. Creativity might also extend to the hardware used to hang frames, such as using decorative hooks or experimenting with different hanging techniques.
Considerations and Tips
When planning to install picture rail moulding, consider the height at which it will be installed. Traditionally, the height is around the upper third of the wall, but there are no strict rules. The height can vary depending on ceiling height and personal preference. Consider how the art will interact with mouldings around doors or windows as well.
- Width and Size: Select a size that suits the scale of the room. Larger rooms may handle wider mouldings, while smaller spaces benefit from thinner options.
- Consistency: Maintain style consistency with other trims and mouldings in the room. Align the design with baseboards, window trim, and door casings.
- Paint Vs. Stain: Determine whether to paint or stain beforehand. Match with existing woodwork or create a statement with a contrasting color.
- Environmental Factors: Consider humidity levels in the space especially when using wood, as this can affect expansion and contraction.
Picture rail mouldings offer a period charm with modern utility. They protect wall surfaces and allow for artistic flexibility, making them an elegant solution in both traditional and contemporary settings.


Subscribe for Updates
Get the latest articles delivered to your inbox.
We respect your privacy. Unsubscribe anytime.