DIY Lumber Rack: Organize Your Wood Storage Efficiently
Building your own lumber rack can be a practical solution to keep your workspace tidy. It will help you save money and tailor the design to your needs. Whether you’re a hobbyist or a professional, a well-organized lumber rack is essential for easy access to materials.
Selecting the Right Design
Consider the types and quantities of lumber you usually store. A simple wall-mounted rack may suffice for small or thin materials. If you handle larger lumber, a more robust multi-tiered freestanding rack might be necessary. Analyze your workspace and the amount of space available.
- Wall-mounted: Ideal for small shops with less floor space.
- Freestanding: Suitable for larger workshops with plenty of room.
- Adjustable shelves: Offer flexibility for different lumber sizes.
Choose materials based on the load they’ll need to support. Metal brackets add strength, while wooden ones make for easier adjustment. Consider using recycled materials when possible. It’s sustainable and cost-effective.
Gathering Materials and Tools
Once your design is chosen, make a list of required materials. Typical materials include 2x4s, plywood sheets, and metal brackets. Screws and bolts will be needed for assembly. Tools for this project can include a saw, drill, tape measure, and level. Having a safety gear set is also recommended.
Planning Your Build
Sketch your design plans or use design software for more precision. Calculating dimensions is crucial. Account for the overall height, width, and depth of the rack. Plan for enough clearance space around the rack for easy access.
Take stock of your existing lumber supply to estimate the storage capacity. It’s better to slightly oversize the rack rather than finding out you need more space later.
Preparing Your Workspace
Clear the area where the rack will be installed. Ensure it is free from any potential hazards. Having a clean and organized workspace reduces the risk of injury and helps in the efficient completion of the project.
Ensure the floor and walls are level if you opt for a wall-mounted design. This will prevent the rack from tilting or the materials from falling off. Mark the areas on the floor or wall where the rack components will be attached.
Cutting and Assembling
Start by cutting the 2x4s and other wooden parts to the desired length. Measure twice and cut once, to ensure accuracy. Assemble the base of the rack first if it’s a freestanding design. For wall-mounted racks, secure the wall supports before attaching the arms.
Use L-brackets or wooden braces to support the shelf or rack arms. They’ll provide necessary stability. Reinforce corners and key weight-bearing points with extra brackets or included hardware for additional strength.
Securely fasten all parts together with screws and bolts. Use a drill driver for ease, but make sure not to over-tighten and cause stripping. Constant checking with a level while assembling will ensure a straight build.
Customizing Your Rack
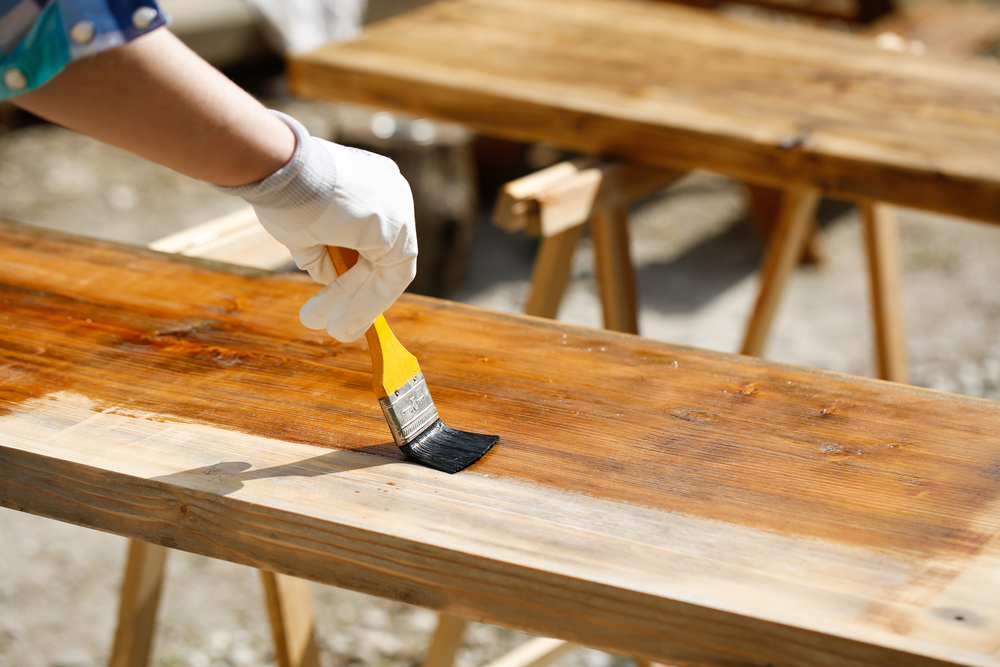
Adjustability is a significant advantage in custom builds. Consider adding adjustable shelf heights or removable dowels. Paint or seal the wood if your workshop is exposed to moisture. This will extend the life of the rack.
Additional Storage Options
Add hooks or bins for storing smaller materials like dowels or cut-offs. These can be attached to the sides or underside of your rack. Labels can be useful for quick identification of different wood species or dimensions held in each section.
Consider installing caster wheels if you need a mobile rack. They enhance versatility within smaller spaces or multi-use areas.
Maintenance Tips
Once your rack is in use, regular maintenance will keep it in top shape. Check for loose screws and bolts periodically. Make it part of your shop cleaning routine. Rearrange the stored lumber every few months to allow for even distribution and prevent damage.
If any wooden components show signs of wear, replace them to avoid safety hazards. Keep the floor area in front of or around the rack clear to prevent tripping or other accidents.
Enjoy Your Organized Space
A DIY lumber rack is a straightforward project that pays off with increased organization and efficiency. By planning carefully and assembling diligently, you can create a storage solution tailored to your needs. Such projects not only save money but also offer satisfaction and enhance practical skills in woodworking.


