Cedar Shake Roof Installation
Installing a cedar shake roof involves several steps. Understanding these steps can help homeowners make informed decisions and prepare adequately for the process.
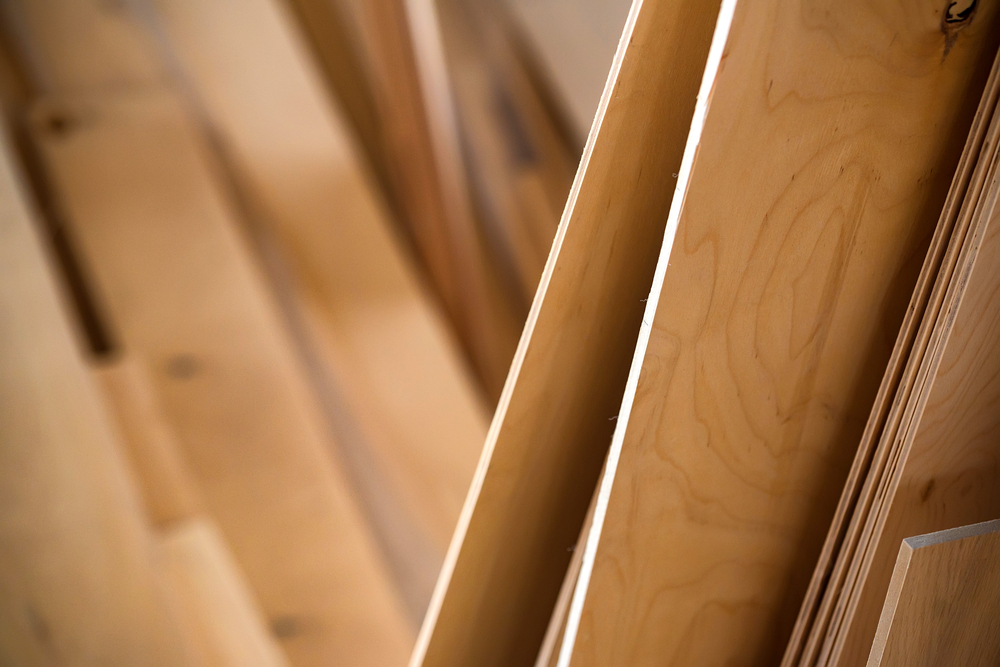
Materials and Tools
Essential materials include cedar shakes, underlayment, nails, and a breathable felt. For tools, you’ll need a hammer, saw, underlayment stapler, and measuring tape. Quality tools and materials extend the roof’s lifespan.
Preparation
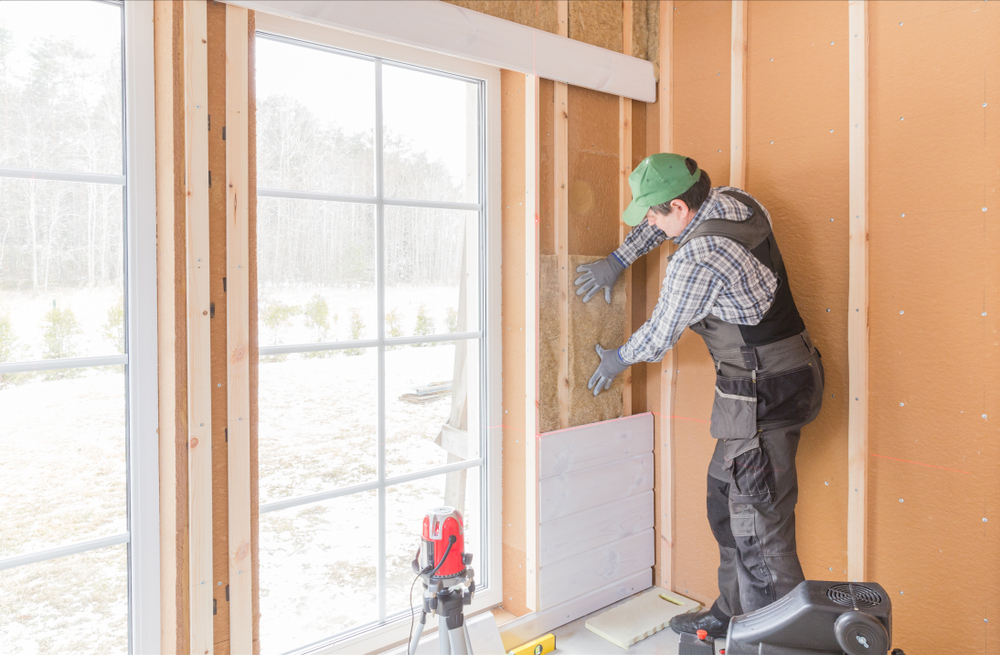
Start by removing the old roofing material. Inspect the roof deck for damage, repairing as necessary. This includes replacing any rotted or broken wood. A solid deck is crucial for a secure installation.
Once the deck is ready, apply the underlayment. Lay it flat and overlap the edges to ensure complete coverage. This layer acts as a moisture barrier, protecting the deck and attic from leaks.
Starter Course
Begin with the starter course at the eave’s edge. Align the first row of shakes along the roof edge. Nail each shake roughly 1 inch from the edge and an inch from the top. This ensures a firm hold.
Installing Cedar Shakes
Subsequent rows follow a staggered pattern. This prevents seams from lining up, reducing the risk of leaks. Use a chalk line to maintain straight rows. Ensure that each shake overlaps the one below it by about 1½ inches.
- Place the shakes tightly together.
- Leave gaps of about ⅜ inch between each shake for expansion.
- Trim any shakes that extend beyond the roof edge.
For valleys and ridges, cut shakes to fit snugly around these areas. Use ridge cap shakes for the peak. Install them with care to provide a neat finish.
Nailing Techniques
Proper nailing is essential. Use two corrosion-resistant nails per shake. Drive nails evenly to avoid splitting the wood. Nails should be long enough to penetrate the roof deck by at least ¾ inch.
Ventilation
Good ventilation extends the life of a cedar shake roof. Install ridge and soffit vents to allow air to circulate under the roofing material. This helps prevent moisture buildup and wood decay.
Maintenance
Regular maintenance ensures the longevity of your roof. Inspect the roof annually for damaged shakes or debris buildup. Clean leaves and branches to prevent moisture retention.
- Replace broken or split shakes promptly.
- Clear moss and algae to avoid wood deterioration.
- Seal the roof every few years to maintain its water resistance.
Environmental Factors
Cedar shakes are susceptible to weathering. In humid climates, algae and moss can be problematic. In dry climates, they can become brittle. Regular inspections and maintenance mitigate these issues.
Choosing Cedar Shakes
Selecting the right cedar shakes is vital. Consider the grade and thickness. Higher-grade shakes offer better durability and appearance. Thicker shakes withstand weather better but are heavier.
Western Red Cedar and Alaskan Yellow Cedar are popular choices. Western Red Cedar is known for its longevity and resistance to decay. Alaskan Yellow Cedar is dense and durable, suitable for harsh climates.
Cost Considerations
Installing a cedar shake roof is more expensive than asphalt shingles but offers greater aesthetic and durability benefits. Initial costs include materials, labor, and potential structural reinforcements. Long-term savings come from its longevity and minimal need for replacement.
Check local regulations before installation. Some areas have restrictions due to fire concerns. Treated cedar shakes may be required in fire-prone areas. Ensure compliance with local building codes.
Professional Installation
While DIY installation is possible, hiring professionals is often advisable. Experienced roofers provide warranties and ensure proper installation. This reduces the risk of leaks and other issues.
Check the credentials and reviews of potential contractors. Obtain multiple quotes to find competitive pricing. Confirm that the contractor has appropriate insurance and bonding.
Environmental Impact
Cedar shakes are a sustainable roofing option. Harvested from renewable resources, they have a lower environmental impact than petroleum-based products. Look for shakes certified by sustainable forestry organizations.
Recycling cedar shakes at the end of their lifespan is possible. They can be repurposed as mulch or composted. This reduces landfill waste and benefits the environment.
Insurance
Update your homeowner’s insurance policy after installation. Inform your insurer of the new roof material. Cedar shake roofs may affect your premiums, reflecting the material’s durability and fire resistance.
Weather Protection
Severe weather can affect cedar shake roofs. Wind-driven rain and snow can cause deterioration. Ensure your roof has adequate protection against these elements. Installing proper flashing around chimneys and other penetrations is critical.
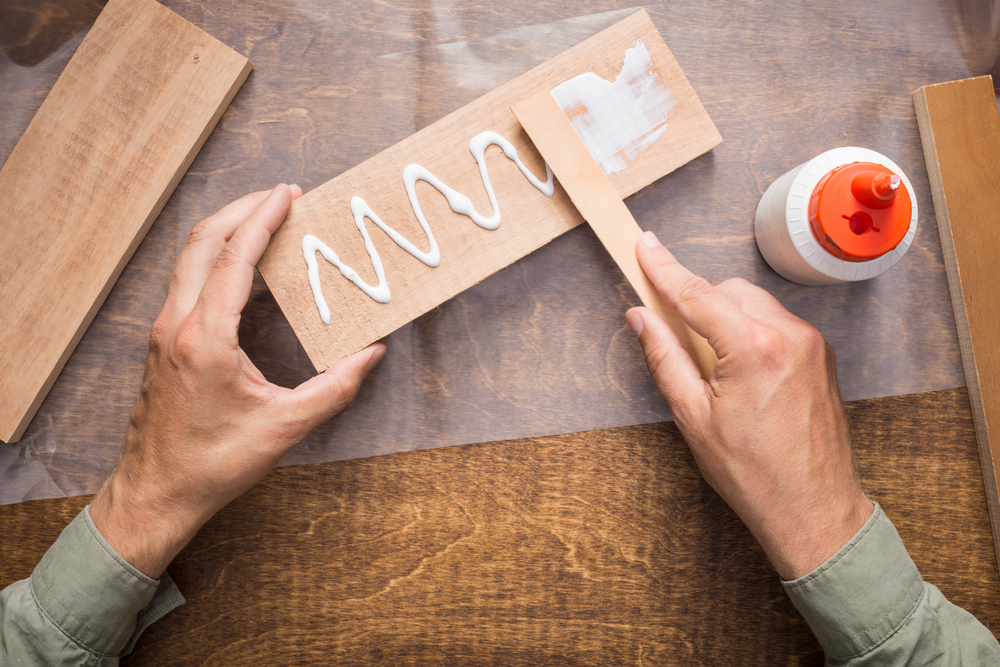
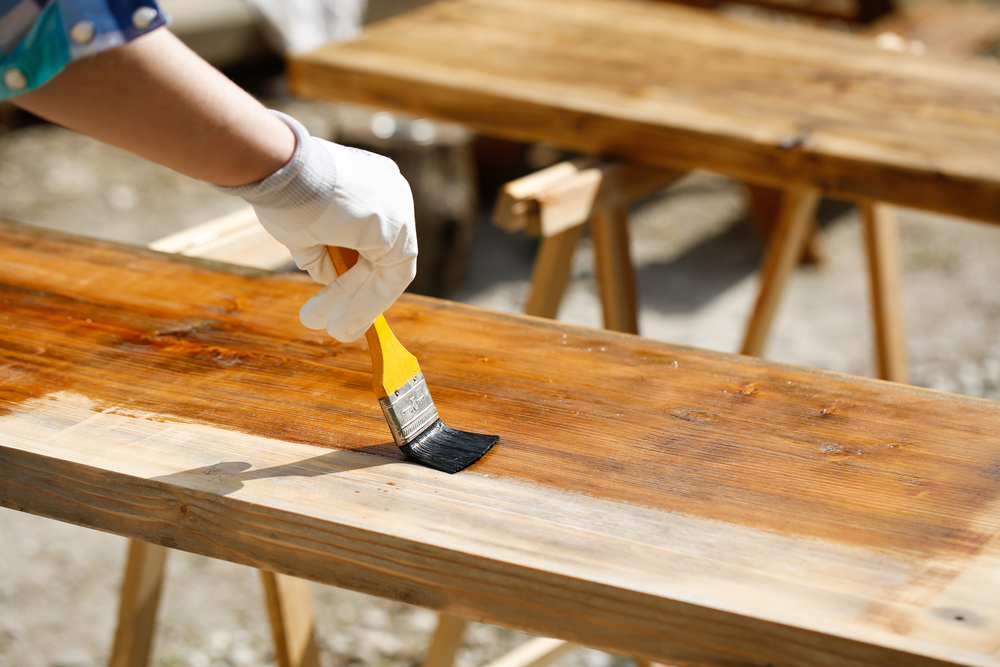
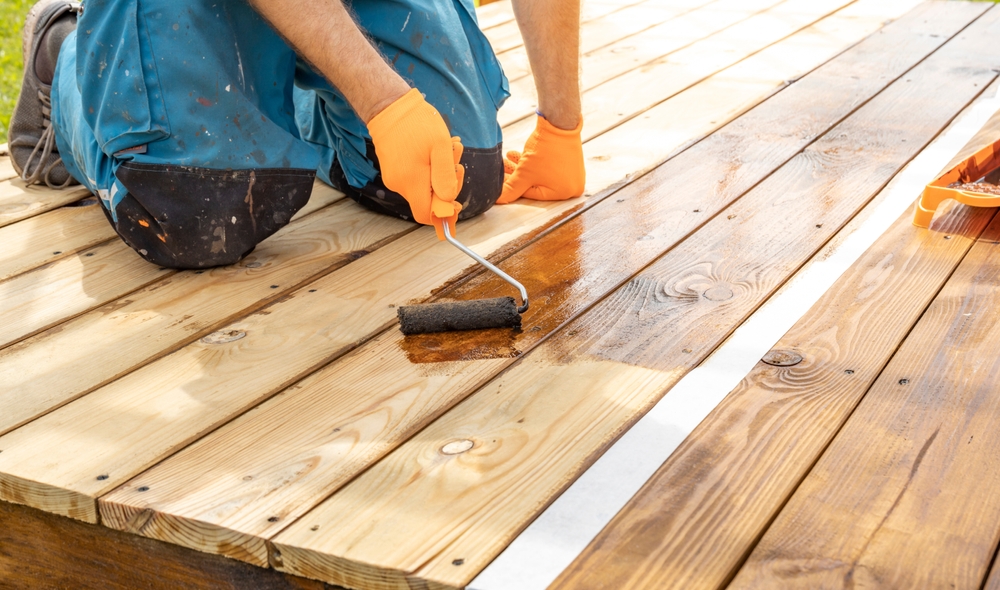
Coatings and Treatments
Applying preservatives can extend the life of cedar shakes. Treatments protect against UV damage, moisture, and pests. Use products specifically designed for cedar.
Follow manufacturer guidelines for application. Avoid over-treating as it can lead to build-up and decreased breathability. Proper care enhances the natural beauty and longevity of the roof.