How to Reglaze a Tub
Reglazing a bathtub can breathe new life into your bathroom without the cost of a full remodel. This process, also known as refinishing, involves applying a new coating over the existing tub surface. It’s a cost-effective way to fix chips, scratches, or stains. Here’s a comprehensive guide on how to tackle this project.
Materials and Tools Needed
- Bathtub refinishing kit
- Sandpaper (fine and coarse grit)
- Paint roller with cover
- Paintbrush
- Masking tape
- Plastic sheeting (for protection)
- Cleaning solution
- Soft cloths
- Ventilator mask
- Safety goggles and gloves
Preparation Steps
Start by removing all personal items from the bathroom. This includes shower curtains, bath mats, and toiletries. Ventilation is crucial. Open windows and doors, and consider using a fan. The chemicals involved can be hazardous. Protective gear like goggles, gloves, and a mask are necessary.
Next, clean the tub thoroughly. Remove soap scum, dirt, and grime using a nongreasy cleaner. Look for stubborn stains or discolorations and ensure they are gone. Rinse the tub, and let it dry completely. Water moisture left on the surface can affect the bonding of the reglazing material.
Surface Preparation
Use sandpaper to roughen the surface of the tub. Start with a coarse grit to eliminate the shiny layer. Follow up with a fine grit to smooth out scratches. Sanding helps the new glaze adhere better, so take your time with this step. Thoroughly clean the tub again to remove all dust and debris from sanding.
Tape off surrounding areas using masking tape. Protect tiles, faucets, and any parts not needing reglazing. Securely lay down plastic sheeting on the floor to catch spills or drips. Double-check the ventilation setup before moving on.
Applying the Reglazing Kit
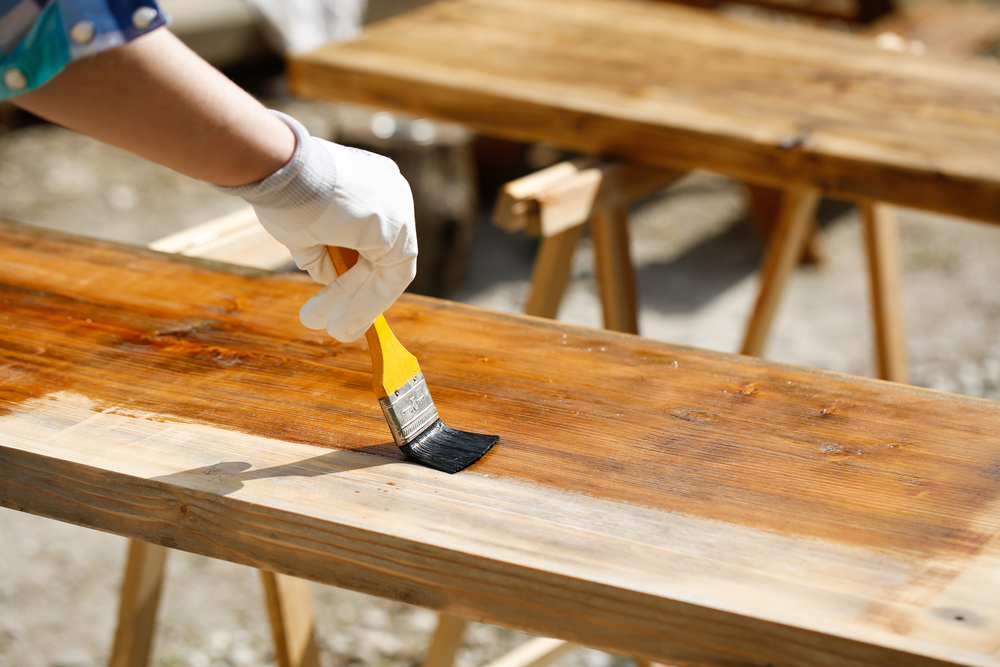
Read the instructions provided with your reglazing kit carefully. Different kits may require specific preparation or application methods. Mix the refinishing agents if needed, following the kit’s instructions. Application of the glaze begins with a paintbrush around the edges. Use long, even strokes to avoid runs.
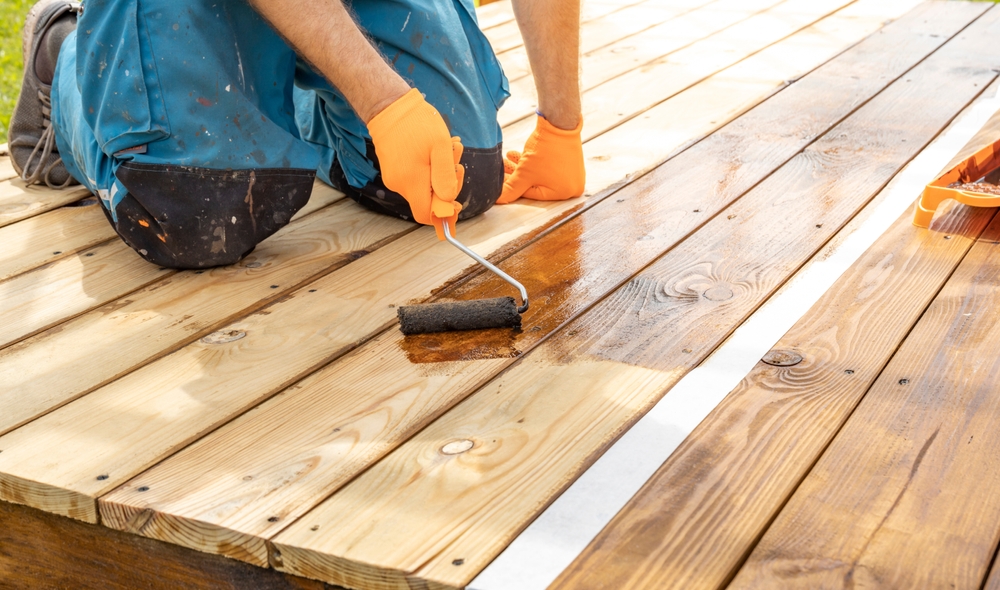
Once the edges are complete, use a roller to apply on the larger surfaces. Work in small sections. This ensures even coverage. Overlap strokes slightly to prevent ridges. Inspect for any missed spots and touch them up immediately with the brush.
Drying and Curing
Drying time varies. This depends on the climate and the reglazing kit used. Typically, a reglazed tub needs at least 24 hours to dry fully. Avoid using the tub during this time. Disturbing the drying glaze can lead to imperfections or a dull finish.
After drying, curing is the next critical phase. Allow an additional 3-4 days for the glaze to fully set. Curing ensures durability and longevity of the reglaze. Keeping moisture away during this period is vital. Inform household members about the waiting period.
Inspecting the Results
Once dried and cured, examine your work. Look for uneven patches or areas that may need a touch-up. If necessary, some kits allow for a second coat. Address imperfections quickly to maintain the integrity of the glaze.
Reglazing is a simple yet effective way to revitalize a tub. With careful application and patience, any DIY enthusiast can achieve professional-looking results. Proper care and maintenance post-reglazing can keep the tub looking fresh for years.

