The Intricacies of Painting Pressure Treated Wood
Pressure treated wood is often seen as a go-to material for outdoor projects. It’s durable and resistant to decay. This makes it perfect for decks, fences, and other structures exposed to the elements. However, painting pressure treated wood requires a specific set of considerations. It’s quite different from painting regular, untreated wood. Understanding the nature of this material is crucial before picking up a paintbrush.
What Makes Pressure Treated Wood Different?
During the pressure treatment process, wood is infused with chemical preservatives. This is done under high pressure. It’s what gives the wood its resistance to rot and insects. The downside is that the wood can be wet or damp from the treatment process. This moisture content is higher than in untreated wood.
The moisture affects the wood’s ability to hold paint. Wet wood doesn’t allow paint to adhere well. This can lead to peeling or bubbling. Therefore, waiting for the wood to dry is paramount. Depending on the climate and type of wood, drying can take weeks or even months.
Preparation is Key
Like any painting project, preparation is vital. Pressure treated wood may come with a residue on the surface. This residue affects how well the paint sticks. Cleaning the wood first is essential. Use soapy water and a scrub brush. Make sure it’s rinsed thoroughly afterwards.
Sanding the wood can also be beneficial. Sanding creates a suitable surface for the paint to grip. Use medium-grit sandpaper. Be sure to remove any dust left over from sanding.
Choosing the Right Paint
The choice of paint is another critical factor. Not all paints work well on pressure treated wood. Acrylic latex paint is often recommended. Its flexibility makes it less prone to cracking as the wood contracts and expands. Oil paints are generally not the best option. They don’t adhere well to the treated surface.
Primer is also essential. A good quality primer can enhance adhesion. Primers help cover up any imperfections and give the paint something to stick to. Using an exterior-grade primer ensures longevity.
Waiting for the Ideal Conditions
Once prepared, patience is still required. The drying phase can extend project timelines significantly. It’s worth testing the wood first. A moisture meter provides precise readings. This device indicates when the wood is ready for painting.
Opt for a clear day when painting. Humidity can interfere with how well the paint sets. It’s also advisable to avoid windy days. Wind can blow dirt onto the wet paint.
Application Techniques for Best Results
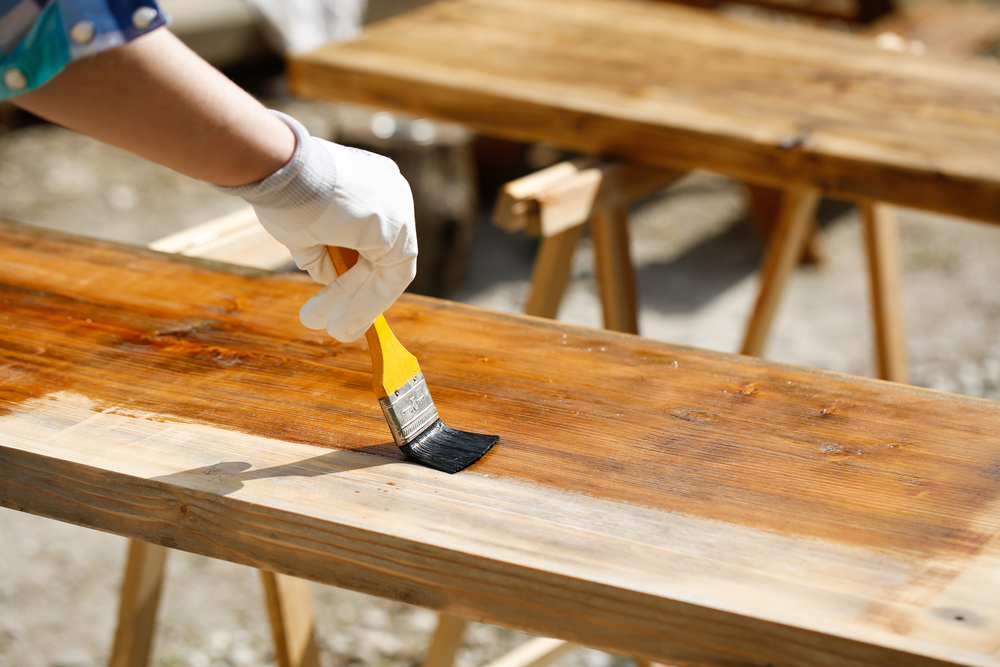
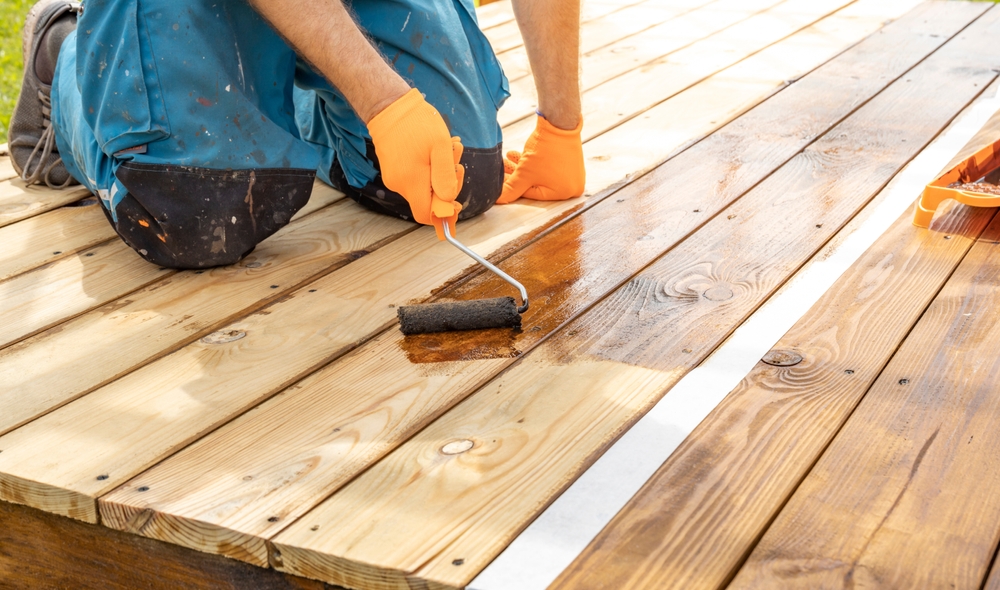
Applying paint to pressure treated wood requires some technique. Start with a layer of primer. Use a brush for smaller areas or edges. A paint roller works well for larger surfaces. Ensure the primer layer is even and smooth. Allow it to dry completely before proceeding to paint.
When applying the paint, use even, long strokes. Thin layers work better than thick coats. Thicker layers can lead to drips and are more prone to peeling. Applying multiple thin coats allows for better coverage and durability. Each layer should dry completely before applying the next.
Maintenance for Longevity
Once painted, maintaining the finish becomes part of regular upkeep. Over time, weathering can affect even the best paint job. Regular inspection can help spot issues early. Repainting as needed will ensure the wood remains protected.
Cleaning the surface periodically and resealing as necessary will keep it looking fresh. A pressure washer can be used carefully to avoid damaging the paint.
The Importance of Safety
Safety should always be a priority when working with pressure treated wood. The preservatives used in the wood can be harmful if ingested. Precautions should be taken. Wear gloves and masks when sanding or cutting. Dispose of sawdust and residues carefully.
Environmental Considerations
Pressure treated wood has certain environmental impacts. The chemicals can leach into the soil. For DIY enthusiasts concerned with sustainability, there are alternatives. Look for wood treated with less harmful preservatives. Some products use natural treatments that are less toxic.
- Copper Azole: A more environmentally friendly option than traditional treatments.
- Non-Toxic Wood Sealants: Help preserve wood without introducing harmful chemicals.
Considering these factors contributes to a safer, more environmentally responsible project.

