How to Stain Wood
Staining wood is a process that can enhance the natural beauty of the material. It can also protect and preserve the wood. Whether you’re working on a piece of furniture, cabinets, or flooring, knowing how to stain wood can make a significant difference in the outcome. Here, we will cover the essential steps and considerations for a successful wood staining project.
Understanding Wood Stain
Wood stain is a type of finish applied to wood to change its color and highlight the grain. Stains come in a variety of types, including oil-based, water-based, gel stains, and more. Each type has its own advantages and challenges. Oil-based stains are durable and offer deep penetration, water-based stains are easier to clean and environmentally friendly, while gel stains are thicker and less likely to drip.
Choosing the Right Stain
Your choice of stain depends on several factors: the project’s location, type of wood, desired finish, and your comfort level with application. For outdoor projects, an oil-based or polyurethane stain might provide better long-term protection. For a beginner, water-based stains are easier to handle due to their quick drying time and ease of cleanup.
Preparing Your Workspace
Preparation is key to an even, beautiful stain coat. Ensure your workspace is well-ventilated, as fumes can be strong, especially with oil-based stains. Protect surfaces from accidental spills and keep materials organized. Having a dedicated space will help focus on the task without constant interruptions.
Sanding the Wood
Before applying stain, sanding the wood is a crucial step. Start with a coarse grit sandpaper and gradually work to a finer grit. This process opens up the wood grain and removes any blemishes. The final pass should be with fine sandpaper, usually around 220-grit, to ensure a smooth surface. Wipe down the wood with a damp cloth to remove all dust and debris, letting it dry completely before moving on.
Testing the Stain
Always test the stain on a scrap piece of the same wood or an inconspicuous area. This helps in determining whether the color and finish meet your expectations. Different woods absorb stains differently, so a test ensures you won’t be surprised by the final color. Adjust your staining process based on these tests before tackling the entire piece.
Applying the Stain
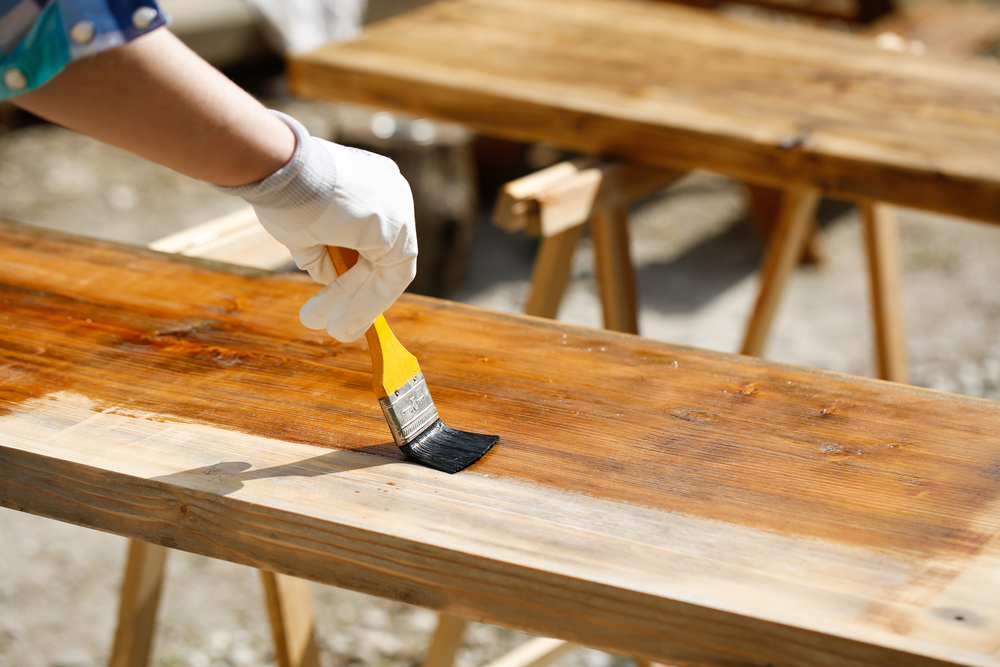
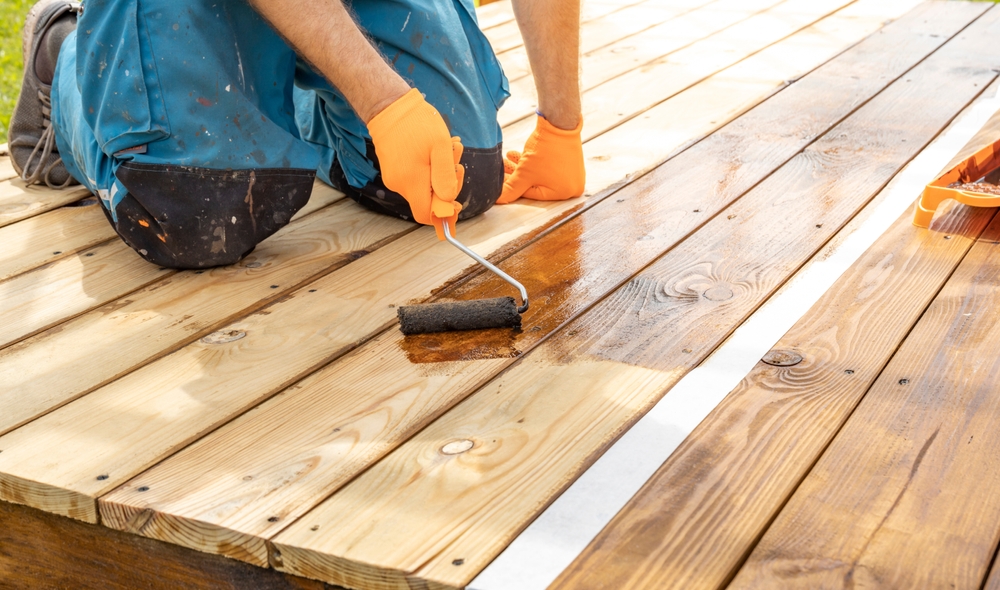
The application methods depend on the stain type. Brushes, rags, or foam brushes are common tools. For oil-based stains, a clean rag often provides the best control. Dip the rag in stain, apply to the wood, and rub along the grain. For a water-based stain, use a synthetic-bristle brush to apply an even coat. With gel stains, apply with a cloth or sponge for the best results.
Wiping Off Excess
Once the stain is applied, it needs to set for a specific time. This ranges from a few seconds to 15 minutes, depending on the intensity you desire. After this, wipe off any excess stain with a clean cloth. This step determines the darkness of the stain; the longer it sits, the darker it gets. Make sure to wipe thoroughly to avoid any blotchy areas.
Allowing the Stain to Dry
After wiping off the excess, allow the stain to dry completely. This process can take from several hours to a full day, depending on the stain type, wood type, and environmental conditions. Ensuring the stain is fully dry will help the sealant bond better and improve the finish’s durability.
Applying a Finish
A finish is necessary to protect the stained wood from damage and enhance its appearance. Polyurethane is a popular choice for its durability and clear finish. Lacquer, shellac, and varnish are other options, each bringing specific benefits depending on use. Apply the finish using a clean brush or sprayer in a dust-free environment. Lightly sand between coats if applying multiple layers to achieve a smooth finish.
Common Mistakes to Avoid
- Skipping the sanding step, which leads to an uneven stain.
- Not testing the stain, resulting in unexpected colors.
- Applying too much stain at once, causing runs and splotches.
- Not wiping off excess stain, leading to stickiness and uneven color.
- Rushing the drying time between coats.
Maintaining the Stained Wood
Maintaining stained wood involves regular dusting and polishing to preserve its appearance. Use a gentle wood cleaner periodically to remove accumulated grime. Avoid harsh chemicals that might strip the stain or finish. For floors, ensure protective pads under furniture to prevent scratches, and use rugs in high-traffic areas.
Exploring Creative Stain Techniques
Beyond traditional staining, consider techniques like layering stains for depth, using a combination of dyes and stains, or employing distressing methods for an antiqued look. Techniques such as liming can highlight wood grain by applying a whitewash effect. Experiment with these methods on test pieces to expand your skillset and achieve unique finishes.


