Popcorn ceiling removal has gotten less clear-cut with all the conflicting advice flying around. I spent a Saturday — actually, most of a weekend — scraping texture off my 1974 ranch home and learned more about what not to do than anything else. So today, I will share it all with you. Starting with the step most homeowners skip entirely.
Test for asbestos. Not after you’ve already started. Not “eventually.” Before you touch a single square inch of that ceiling.
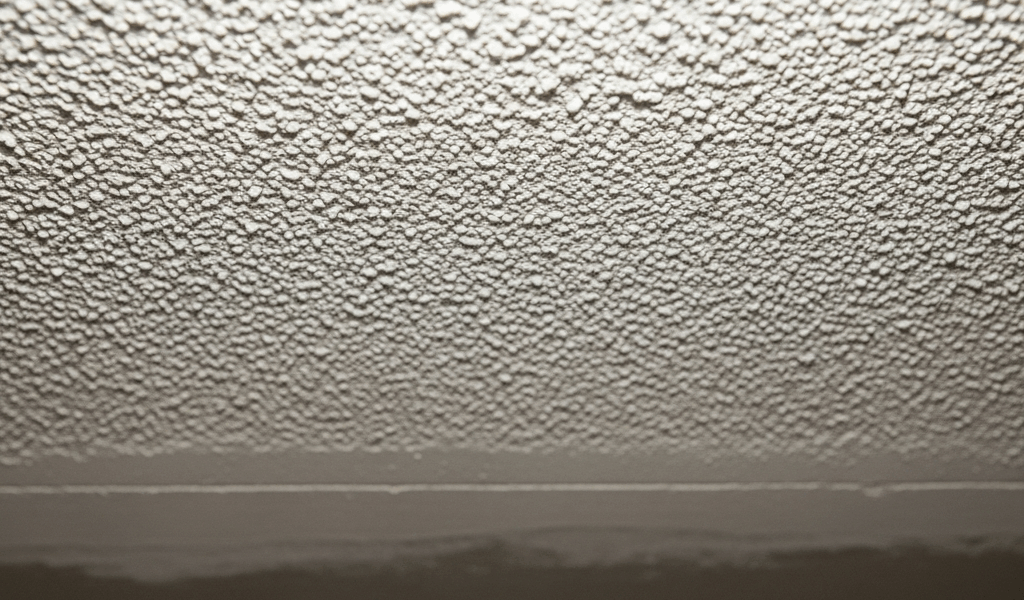
Find Out If Your Ceiling Has Asbestos First
But what is the actual risk here? In essence, it’s this: sprayed-on acoustic texture from the ’60s and ’70s routinely contained asbestos fibers. But it’s much more than just a theoretical concern. Disturbing that material without proper containment puts your lungs at real risk — not insurance-claim risk, actual lung-damage risk.
Homes built before 1980 are the ones to worry about. I’m not being dramatic about this.
Order a testing kit from a certified lab. Laurel Labs and My Sherpa both sell them for around $30 to $50. You scrape a small sample using the tool they include, seal it in their provided bag, and mail it off. Results come back in roughly a week. Cheaper than one hour with a professional inspector, and it answers the only question that matters right now.
Test comes back positive? You’ve got two options. Hire a licensed asbestos abatement contractor — they’ll seal the room, run HEPA filtration, and dispose of everything as hazardous waste. Budget $1,500 to $3,000 for an average-sized room. Or, honestly, just leave it alone. Undisturbed asbestos isn’t the danger. Airborne asbestos fibers are. That’s what disturbance creates.
My test came back negative. That’s the only reason I was up there with a sprayer and a 12-inch drywall knife on a Saturday morning. Side-step the error I made of assuming — test first.
What You Actually Need Before You Start
Worth saying out loud. A lot of articles hand you a list of 15 items when six will actually get the job done.
While you won’t need a contractor’s full setup, you will need a handful of specific tools — and one of them will make or break your whole afternoon.
- Garden pump sprayer, 1-gallon capacity — about $15. A spray bottle does not cut it. I know because I spent two hours misting my ceiling with one before switching. The pump sprayer finished the same section in 20 minutes. Consistent, even moisture. No contest.
- 4-mil plastic sheeting, $10 to $15 per roll. Cover the floor. Tape it up the walls. Wet popcorn texture falls in chunks and smears into everything. This step is not optional.
- 12-inch wide drywall knife, $8 to $12. Narrow knives jam and require twice the passes. Wide knives cover more surface and distribute pressure better across the drywall underneath.
- Canvas drop cloths, $20 to $30. Layer these under the plastic sheeting. Your floors will thank you on day two.
- N95 respirator with replaceable filters, $15 to $25. Even with a negative asbestos test, popcorn dust gets everywhere. A paper mask is not a respirator. Don’t treat it like one.
- Safety glasses — any hardware store, around $5. Texture chips fly. They aim for your eyes specifically. Or at least it feels that way.
I’m apparently someone who learns through expensive inconvenience, and the pump sprayer situation works as a perfect example of that. Steer clear of where I went wrong.
How to Remove Popcorn Ceiling Without Wrecking the Drywall
The process itself is straightforward. Wet the texture. Wait. Scrape. Most drywall damage happens because someone skipped the waiting part — or started scraping a dry patch they’d missed.
Start in a corner or a closet. Somewhere low-stakes. Fill your pump sprayer with plain water and add a small splash of liquid fabric softener — it helps the texture absorb moisture faster. I picked that up from a YouTube contractor who actually seemed to know what he was doing. Spray a 3-foot-by-3-foot section until it’s visibly wet but not dripping. Set a timer for five minutes. Walk away.
Five minutes is the threshold. The texture needs to soften completely before you touch it.
Now scrape. Hold your drywall knife at roughly 30 degrees and push away from you with light to medium pressure. You’re not trying to strip it in one pass — multiple shallow passes beat one aggressive one every time. Texture still resisting? Spray again, wait two more minutes. What you should not do is jam the knife harder because you want it done faster. That’s how I put a gouge in my bedroom ceiling. A gouge that then required a skim coat I hadn’t budgeted for.
Painted-over ceilings are a different situation. Paint seals the texture and blocks water penetration. Spray it anyway, but plan for 10 to 15 minutes of soaking instead of five. Some people score the paint surface with a perforation tool first. It works, but it’s slow going. I found that extra soaking time consistently outperformed the extra tool.
Work in small sections. Each 3-by-3-foot square takes roughly 10 minutes once you find your rhythm. A standard bedroom ceiling — say, 12 by 14 feet — will realistically take four to six hours spread across two days. That’s what makes this project endearing to us DIYers — it’s genuinely achievable, but only if you don’t rush it.
Common Problems and How to Fix Them
The drywall paper tears up with the texture. This happens when the texture has bonded tightly to the paper layer underneath. Stop scraping immediately, spray the area again, and let it soak for 10 to 15 minutes. If it still tears, stop there. Torn paper can’t be repaired — it has to be covered with a skim coat later. Accept that and move on.
Wet mud shows through after scraping. You’ve gone past the texture layer and hit the joint compound — the mud between drywall panels. Spray once more, wait longer, and use lighter pressure on your next pass. The texture should release before you reach that layer.
Texture won’t release cleanly because of paint. More soaking. Some people add a drop of dish soap to their water mixture for better penetration. It helps marginally. Additional time helps more. Spray, wait 15 minutes, spray again, wait another 10. Then scrape.
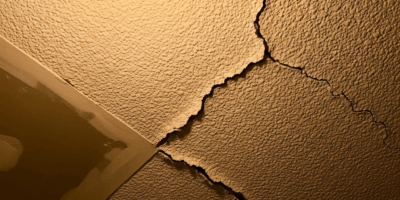
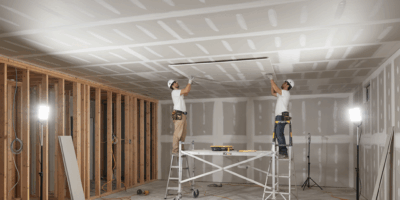
Drywall is damaged. Torn paper or gouged surface means you need a skim coat — one thin layer of joint compound spread across the ceiling to cover damage and create a smooth base for paint. Harder than it looks, and gravity actively works against you the entire time. Thick application sags. Thin application shows ridges. Professional drywall finishers charge $1 to $2 per square foot. For a 12-by-14-foot bedroom, that runs $200 to $300. Worth every dollar if you haven’t done it before.
What to Do With the Ceiling After It’s Bare
A freshly scraped ceiling isn’t ready for paint. Not yet. The drywall compound and paper underneath have slight variations in sheen and porosity — primer and paint will reveal these as ghosting. Faint shadows where joints and patches don’t quite disappear.
A skim coat might be the best option, as bare drywall requires a uniform surface before paint can hide anything. That is because the joint compound and raw paper reflect light differently, and no primer fully bridges that gap without something underneath.
Your other options: light orange peel texture, sprayed on with a hopper gun (roughly $40 to $60 to rent), covers minor imperfections without the skill requirement of skim coating. Or just prime and paint directly — but only if the removal went cleanly, with no torn paper, no gouges, and no major drywall damage.
Most ceilings need at least a skim coat or a light applied texture. Bare drywall under paint almost always shows its flaws. Know that going in, and you won’t be standing in your bedroom two weeks later wondering why a fresh coat of paint made things look worse.
So, without further ado — actually, we’ve covered it. Test first. Spray well. Wait longer than you think you need to. Scrape light. The ceiling that takes two days done carefully beats the one that takes one afternoon and costs you a skim coat job you didn’t plan for.


Leave a Reply